GitLab
Connecting your SCM to StackSpot brings several benefits to your team and lets you run actions remotely through CI/CD pipelines.
Prerequisites
1. Create a GitLab Group and Project
Before you start, make sure you have a repository in your organization for your pipelines. You can use an existing repository or create a new one.
If your organization doesn’t have a Group or Project in GitLab, check out these guides:
2. Generate a Personal Access Token in GitLab
- Log in to your GitLab account.
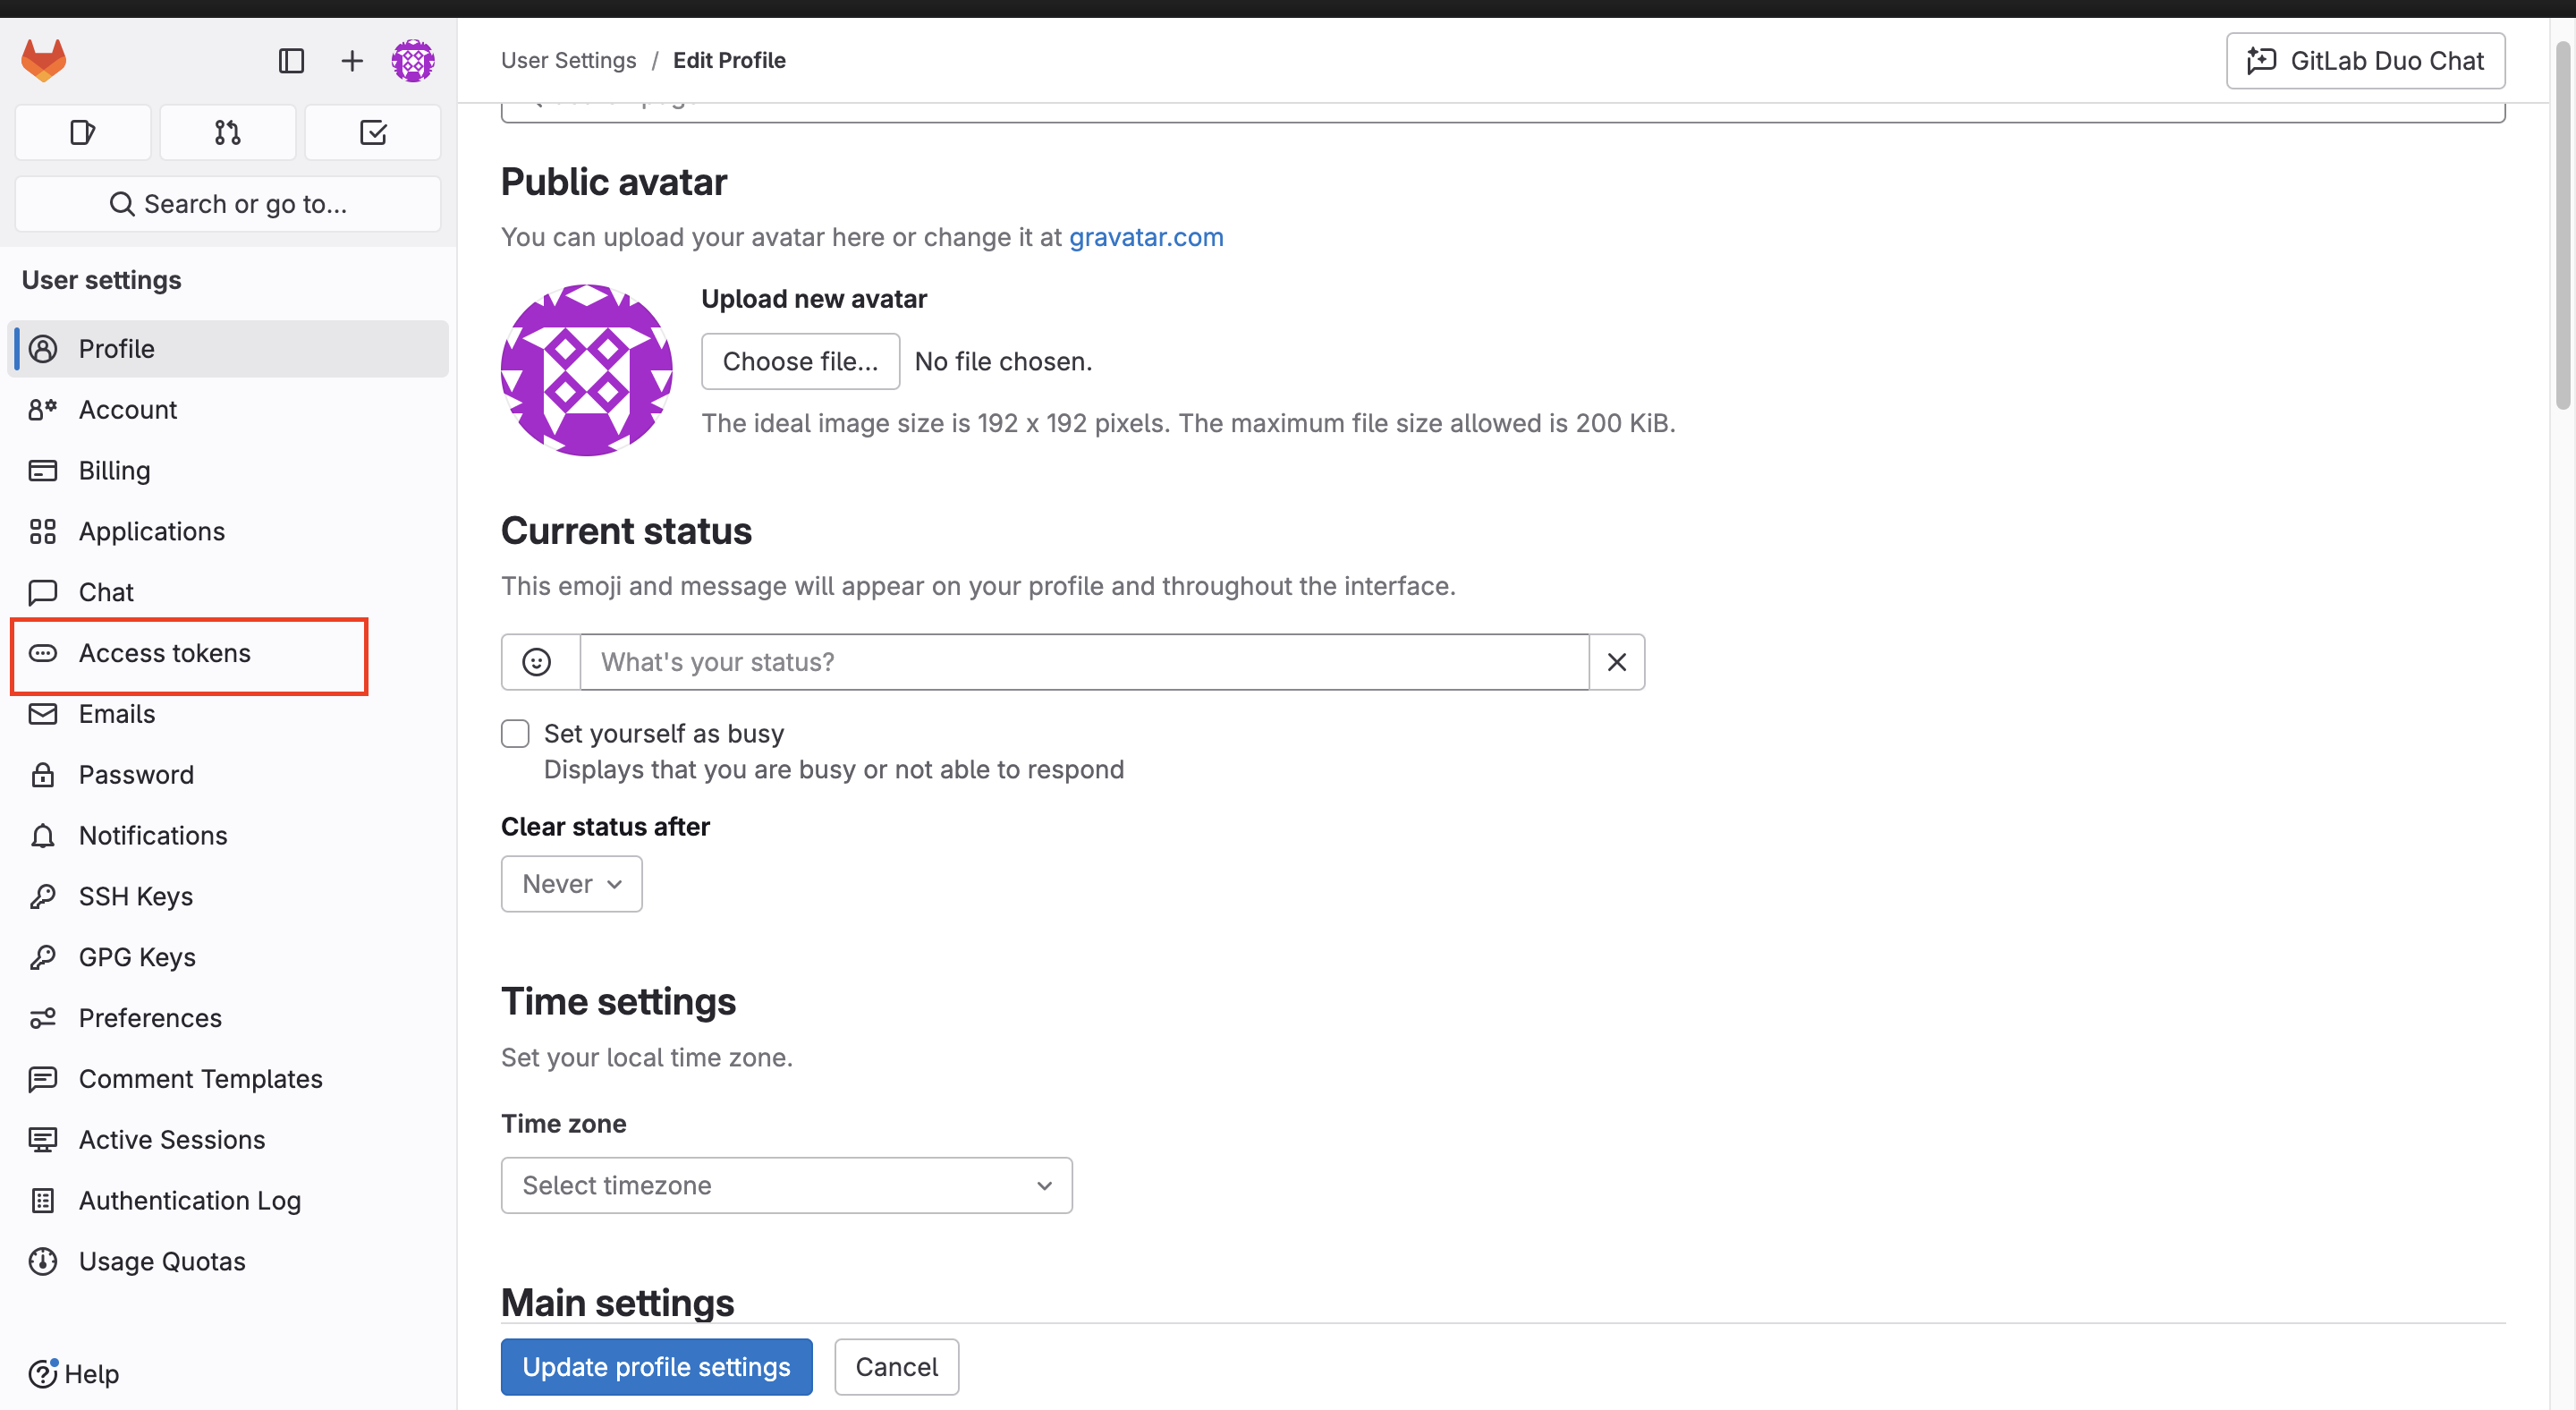
- Click your profile avatar in the menu.
- Select Edit profile.
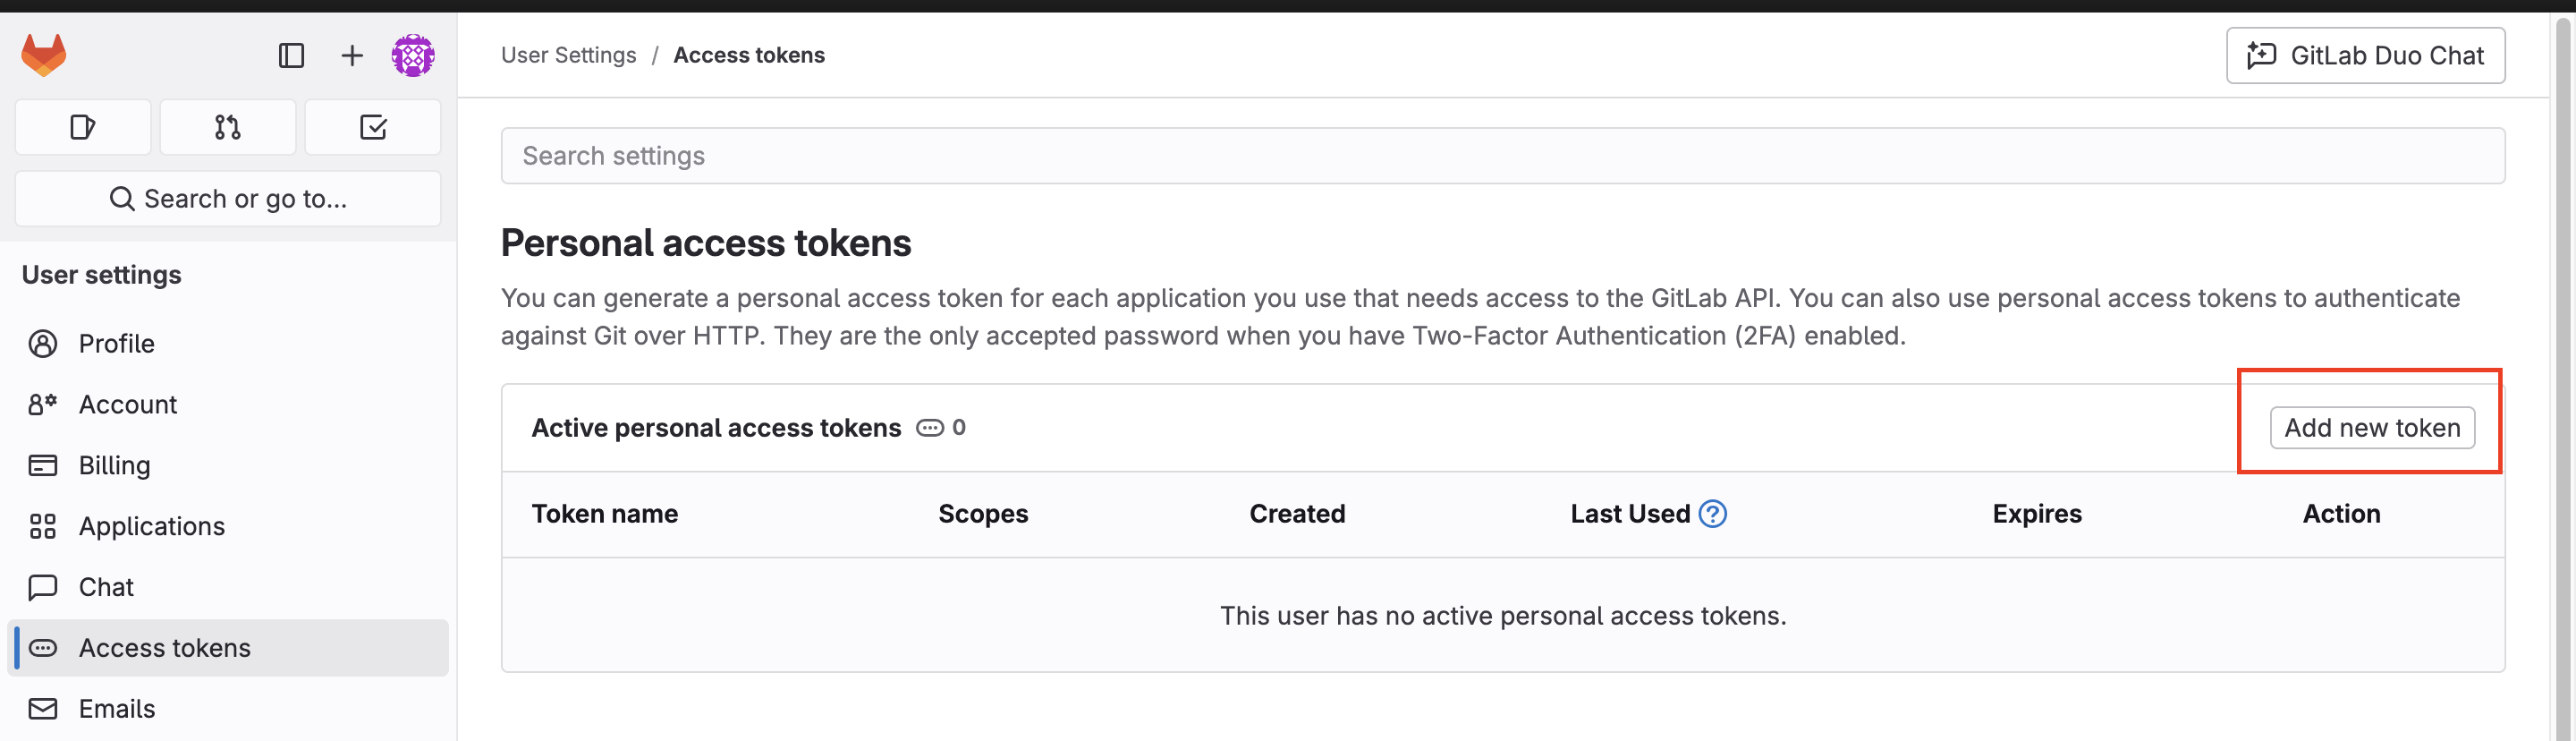
- Click Access Tokens.
- Click Add new token.
- Enter a name and expiration date for your token. If you don’t set an expiration date, GitLab will set it to 365 days from today.
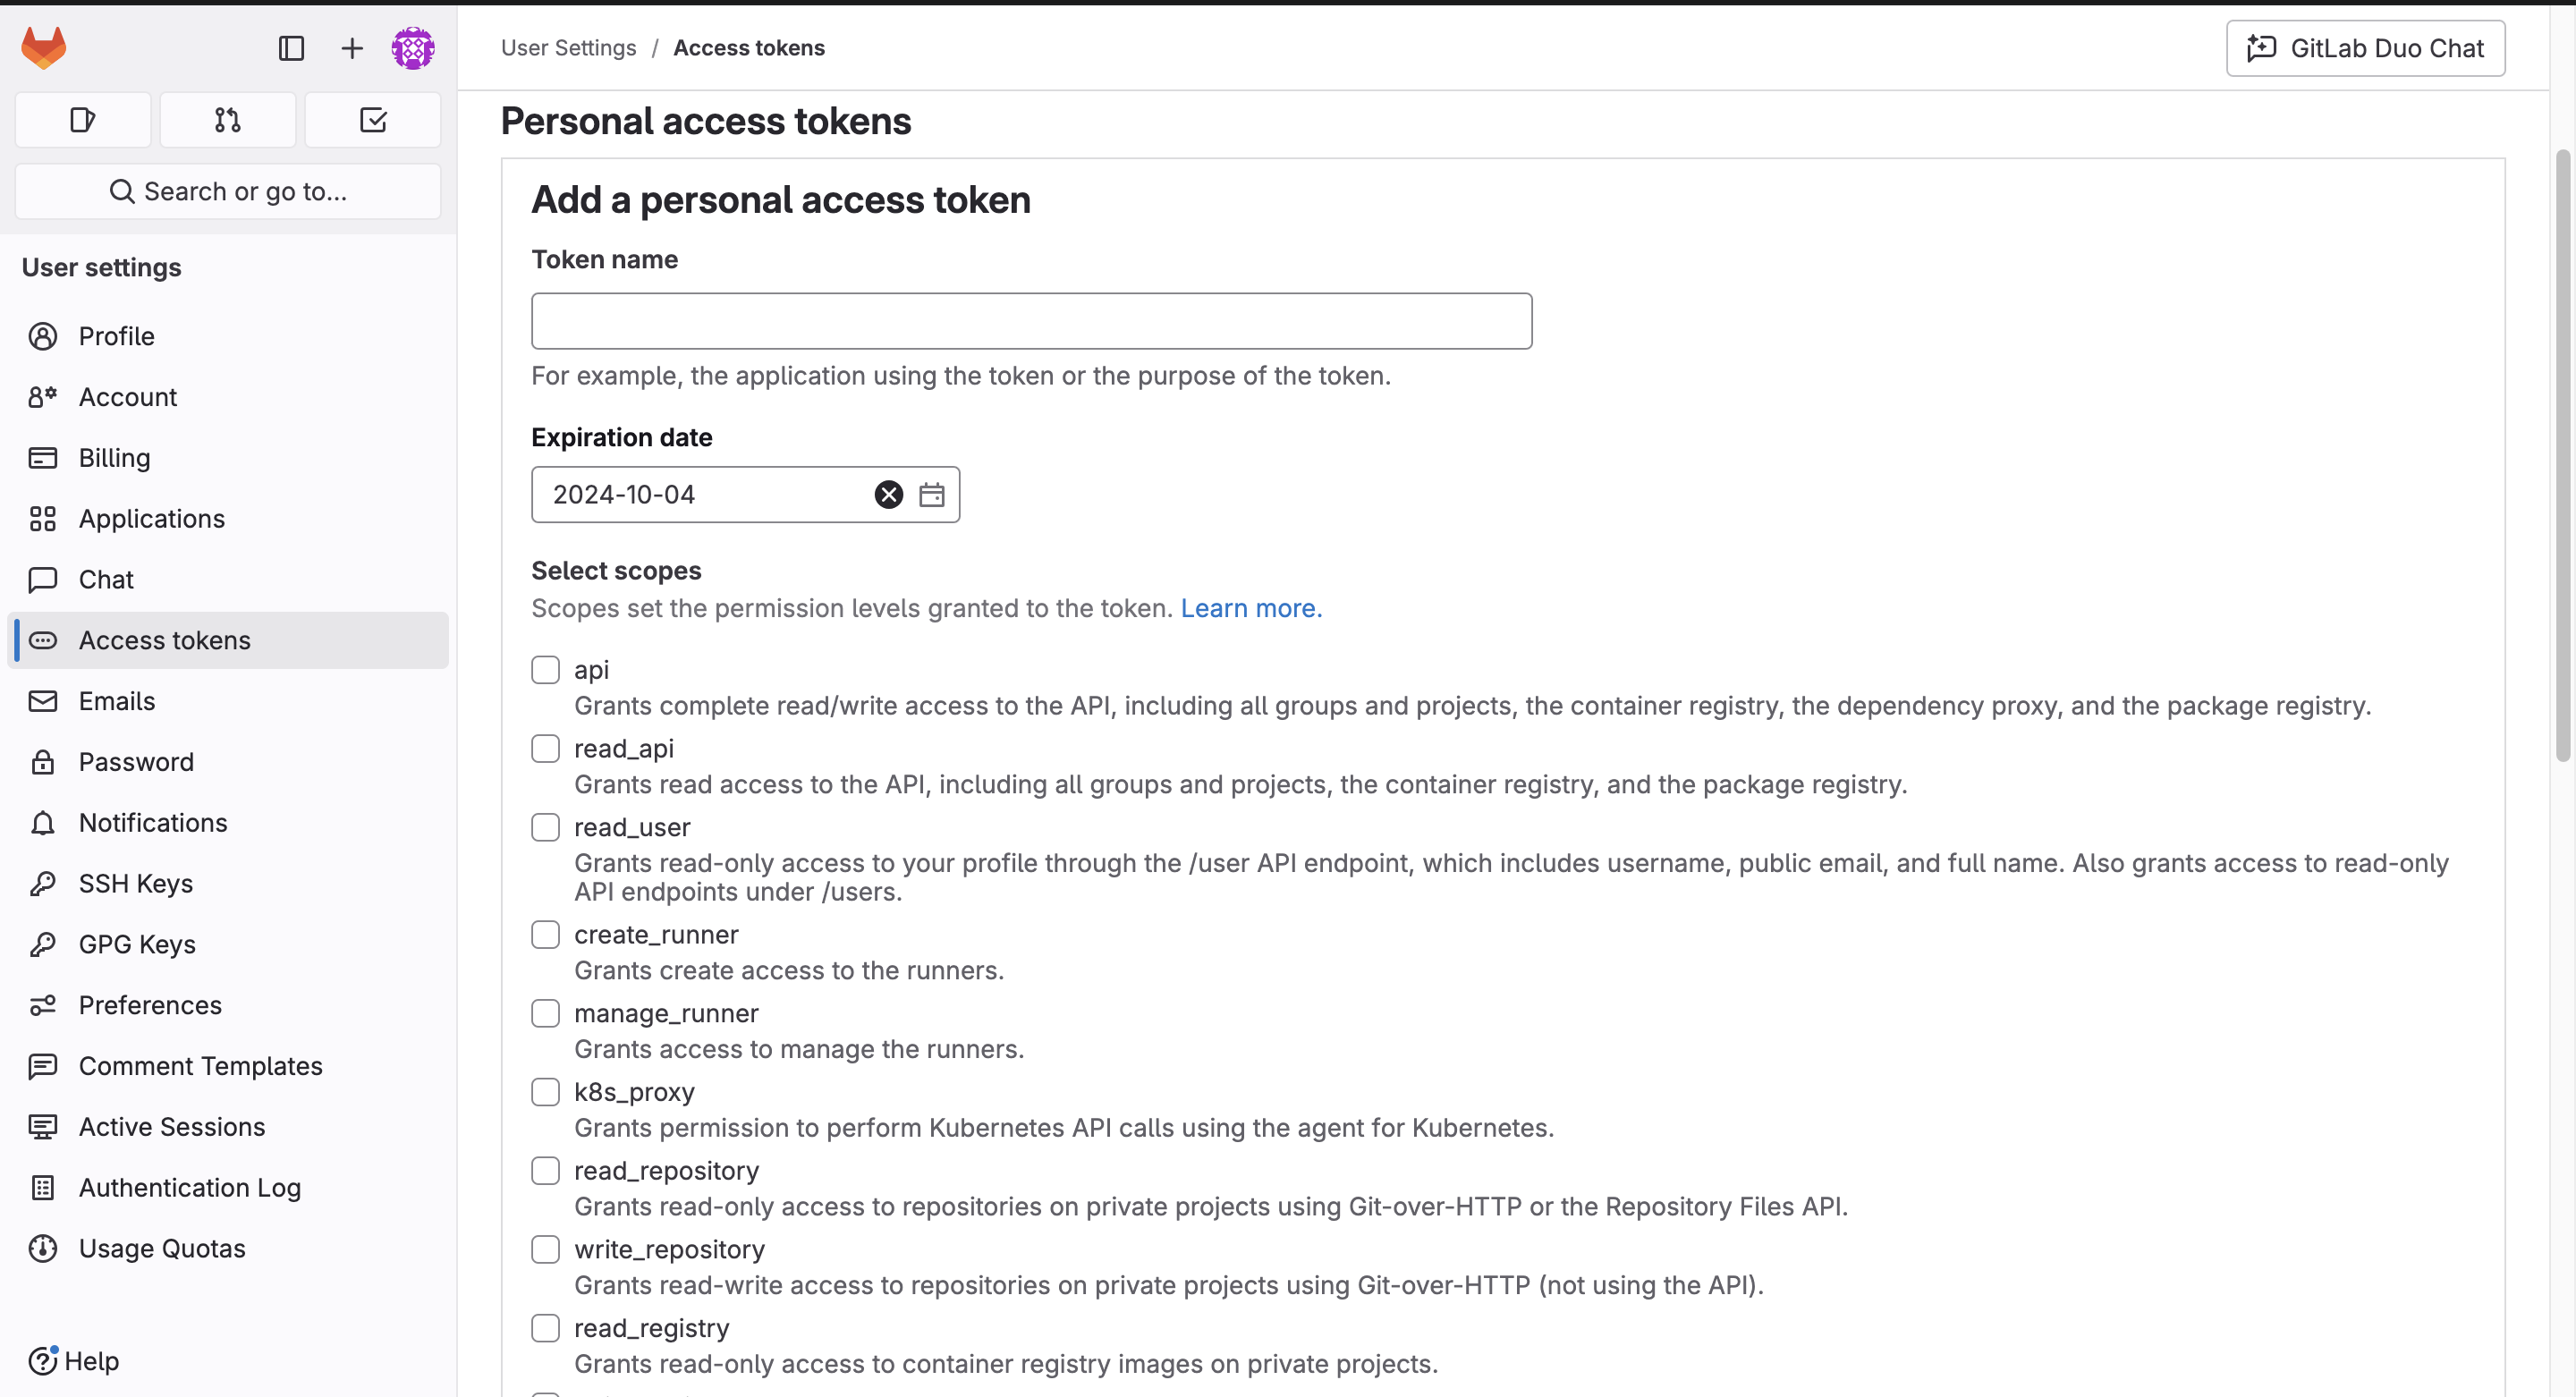
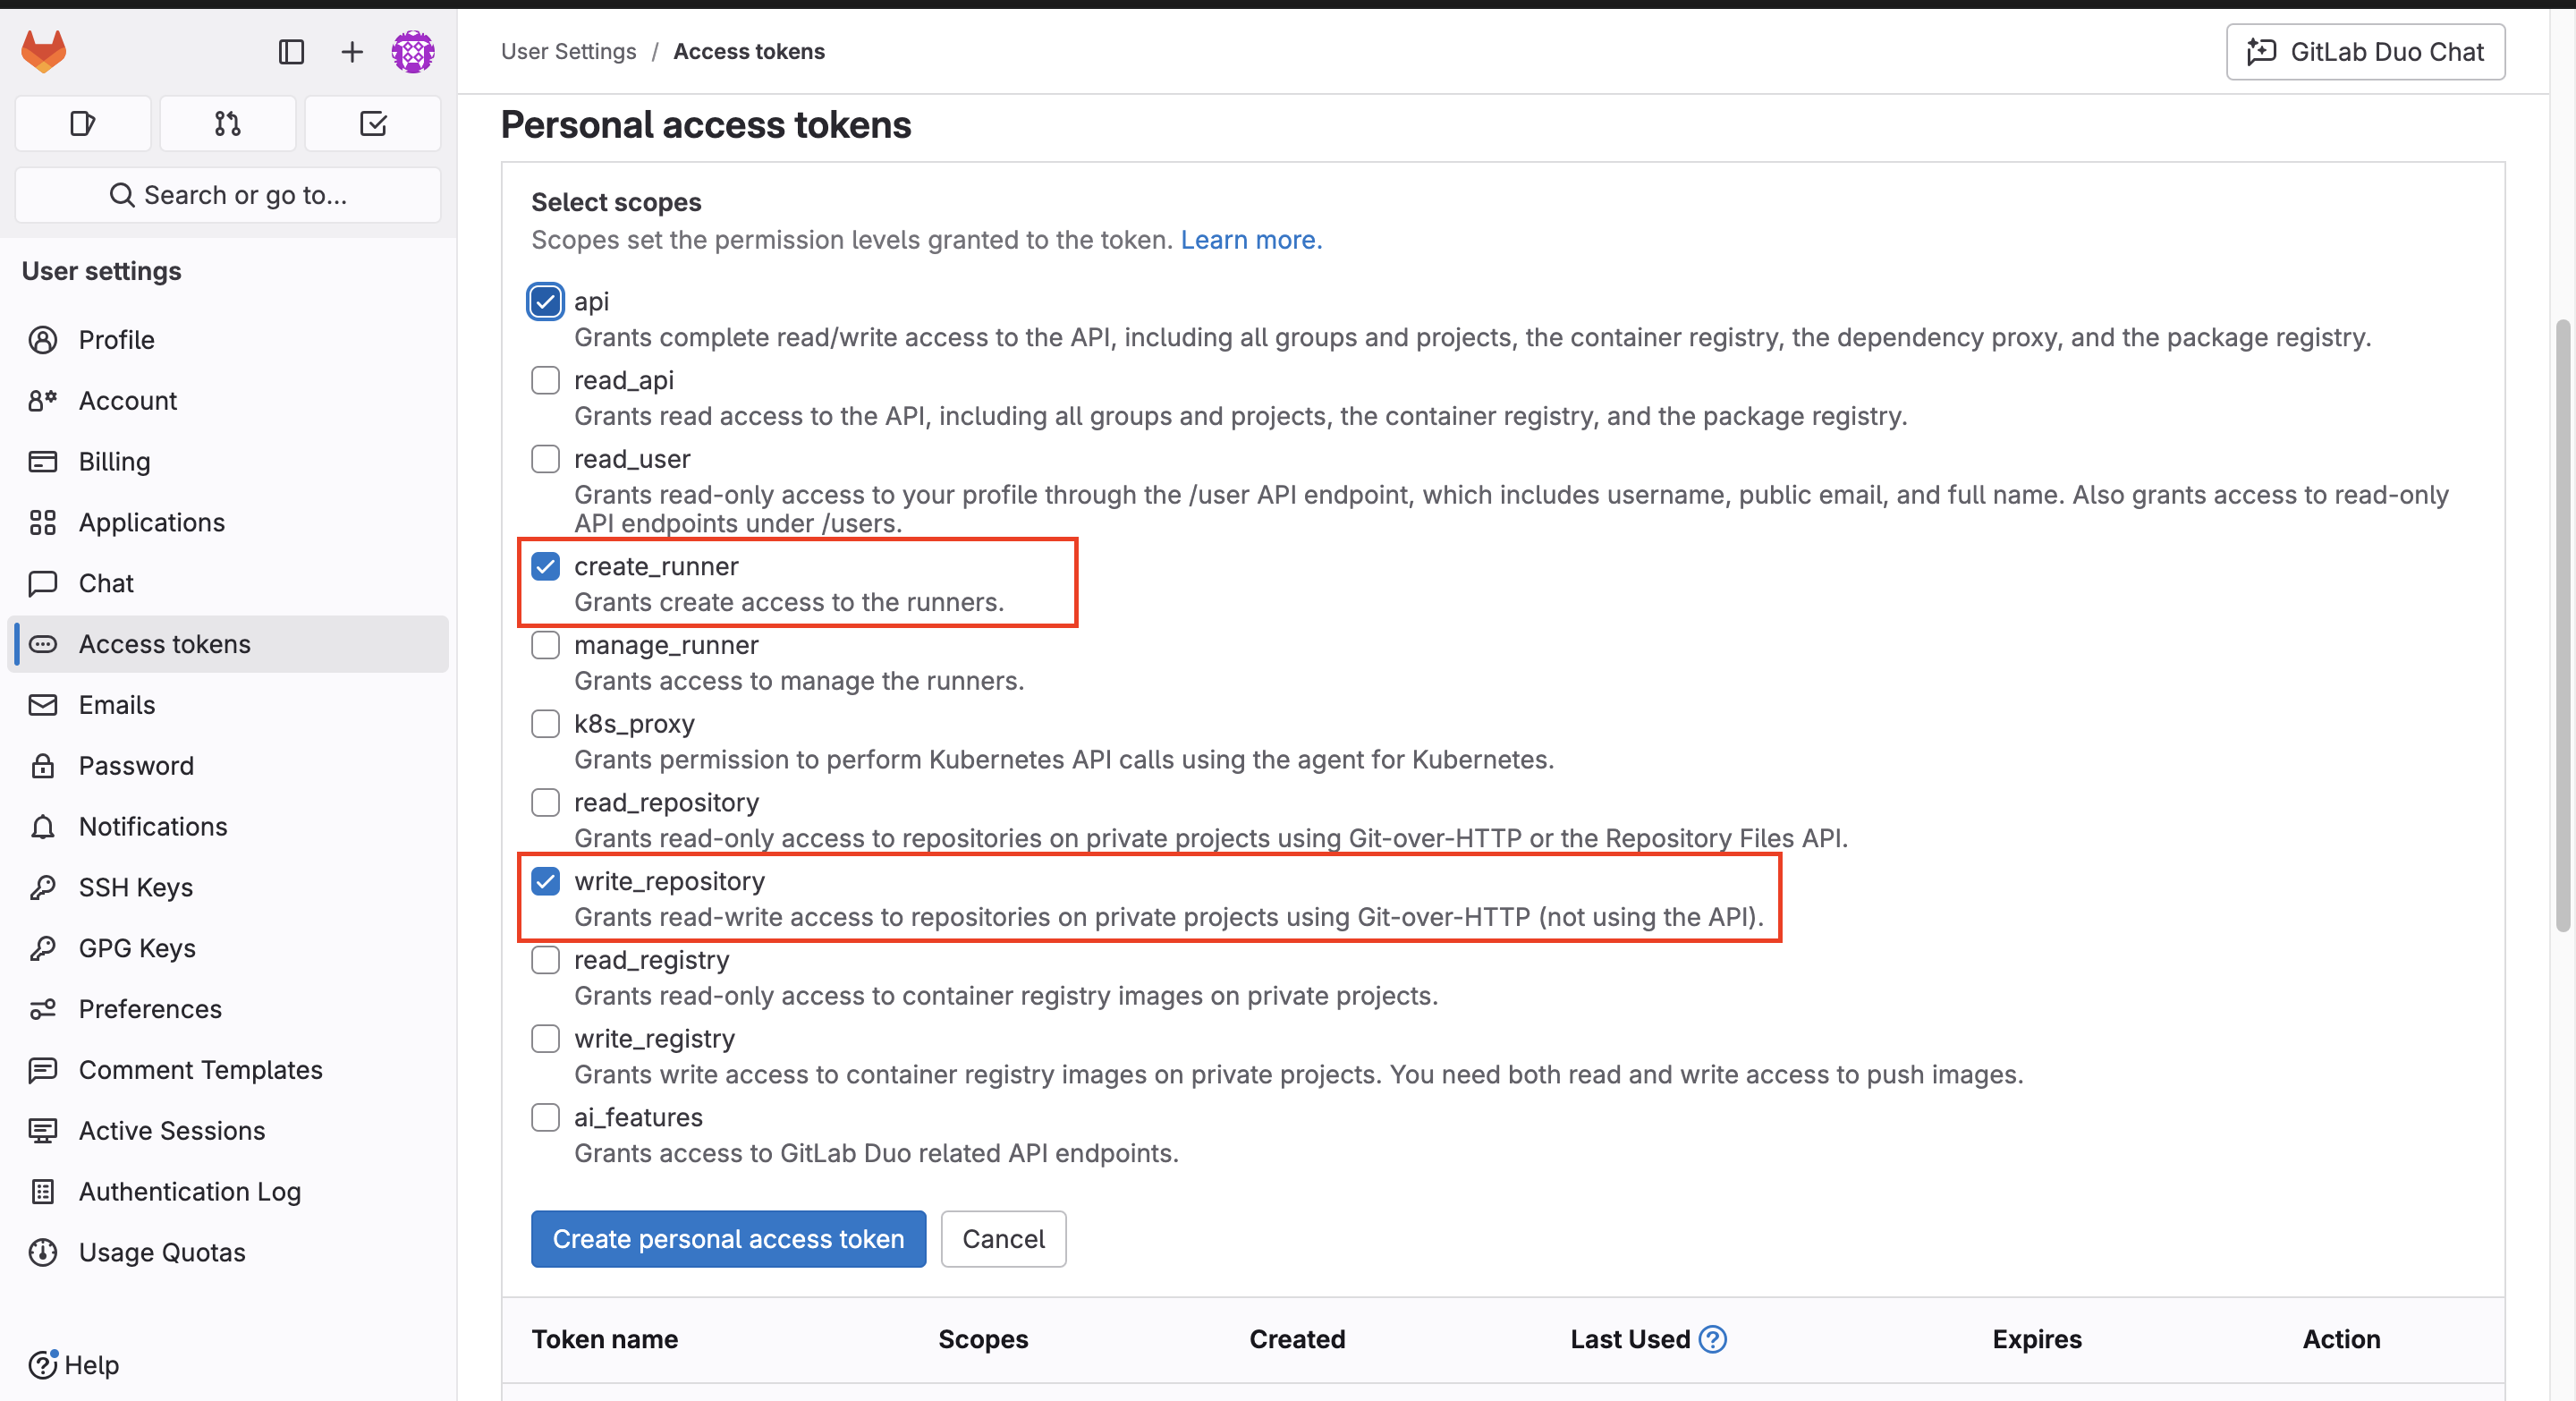
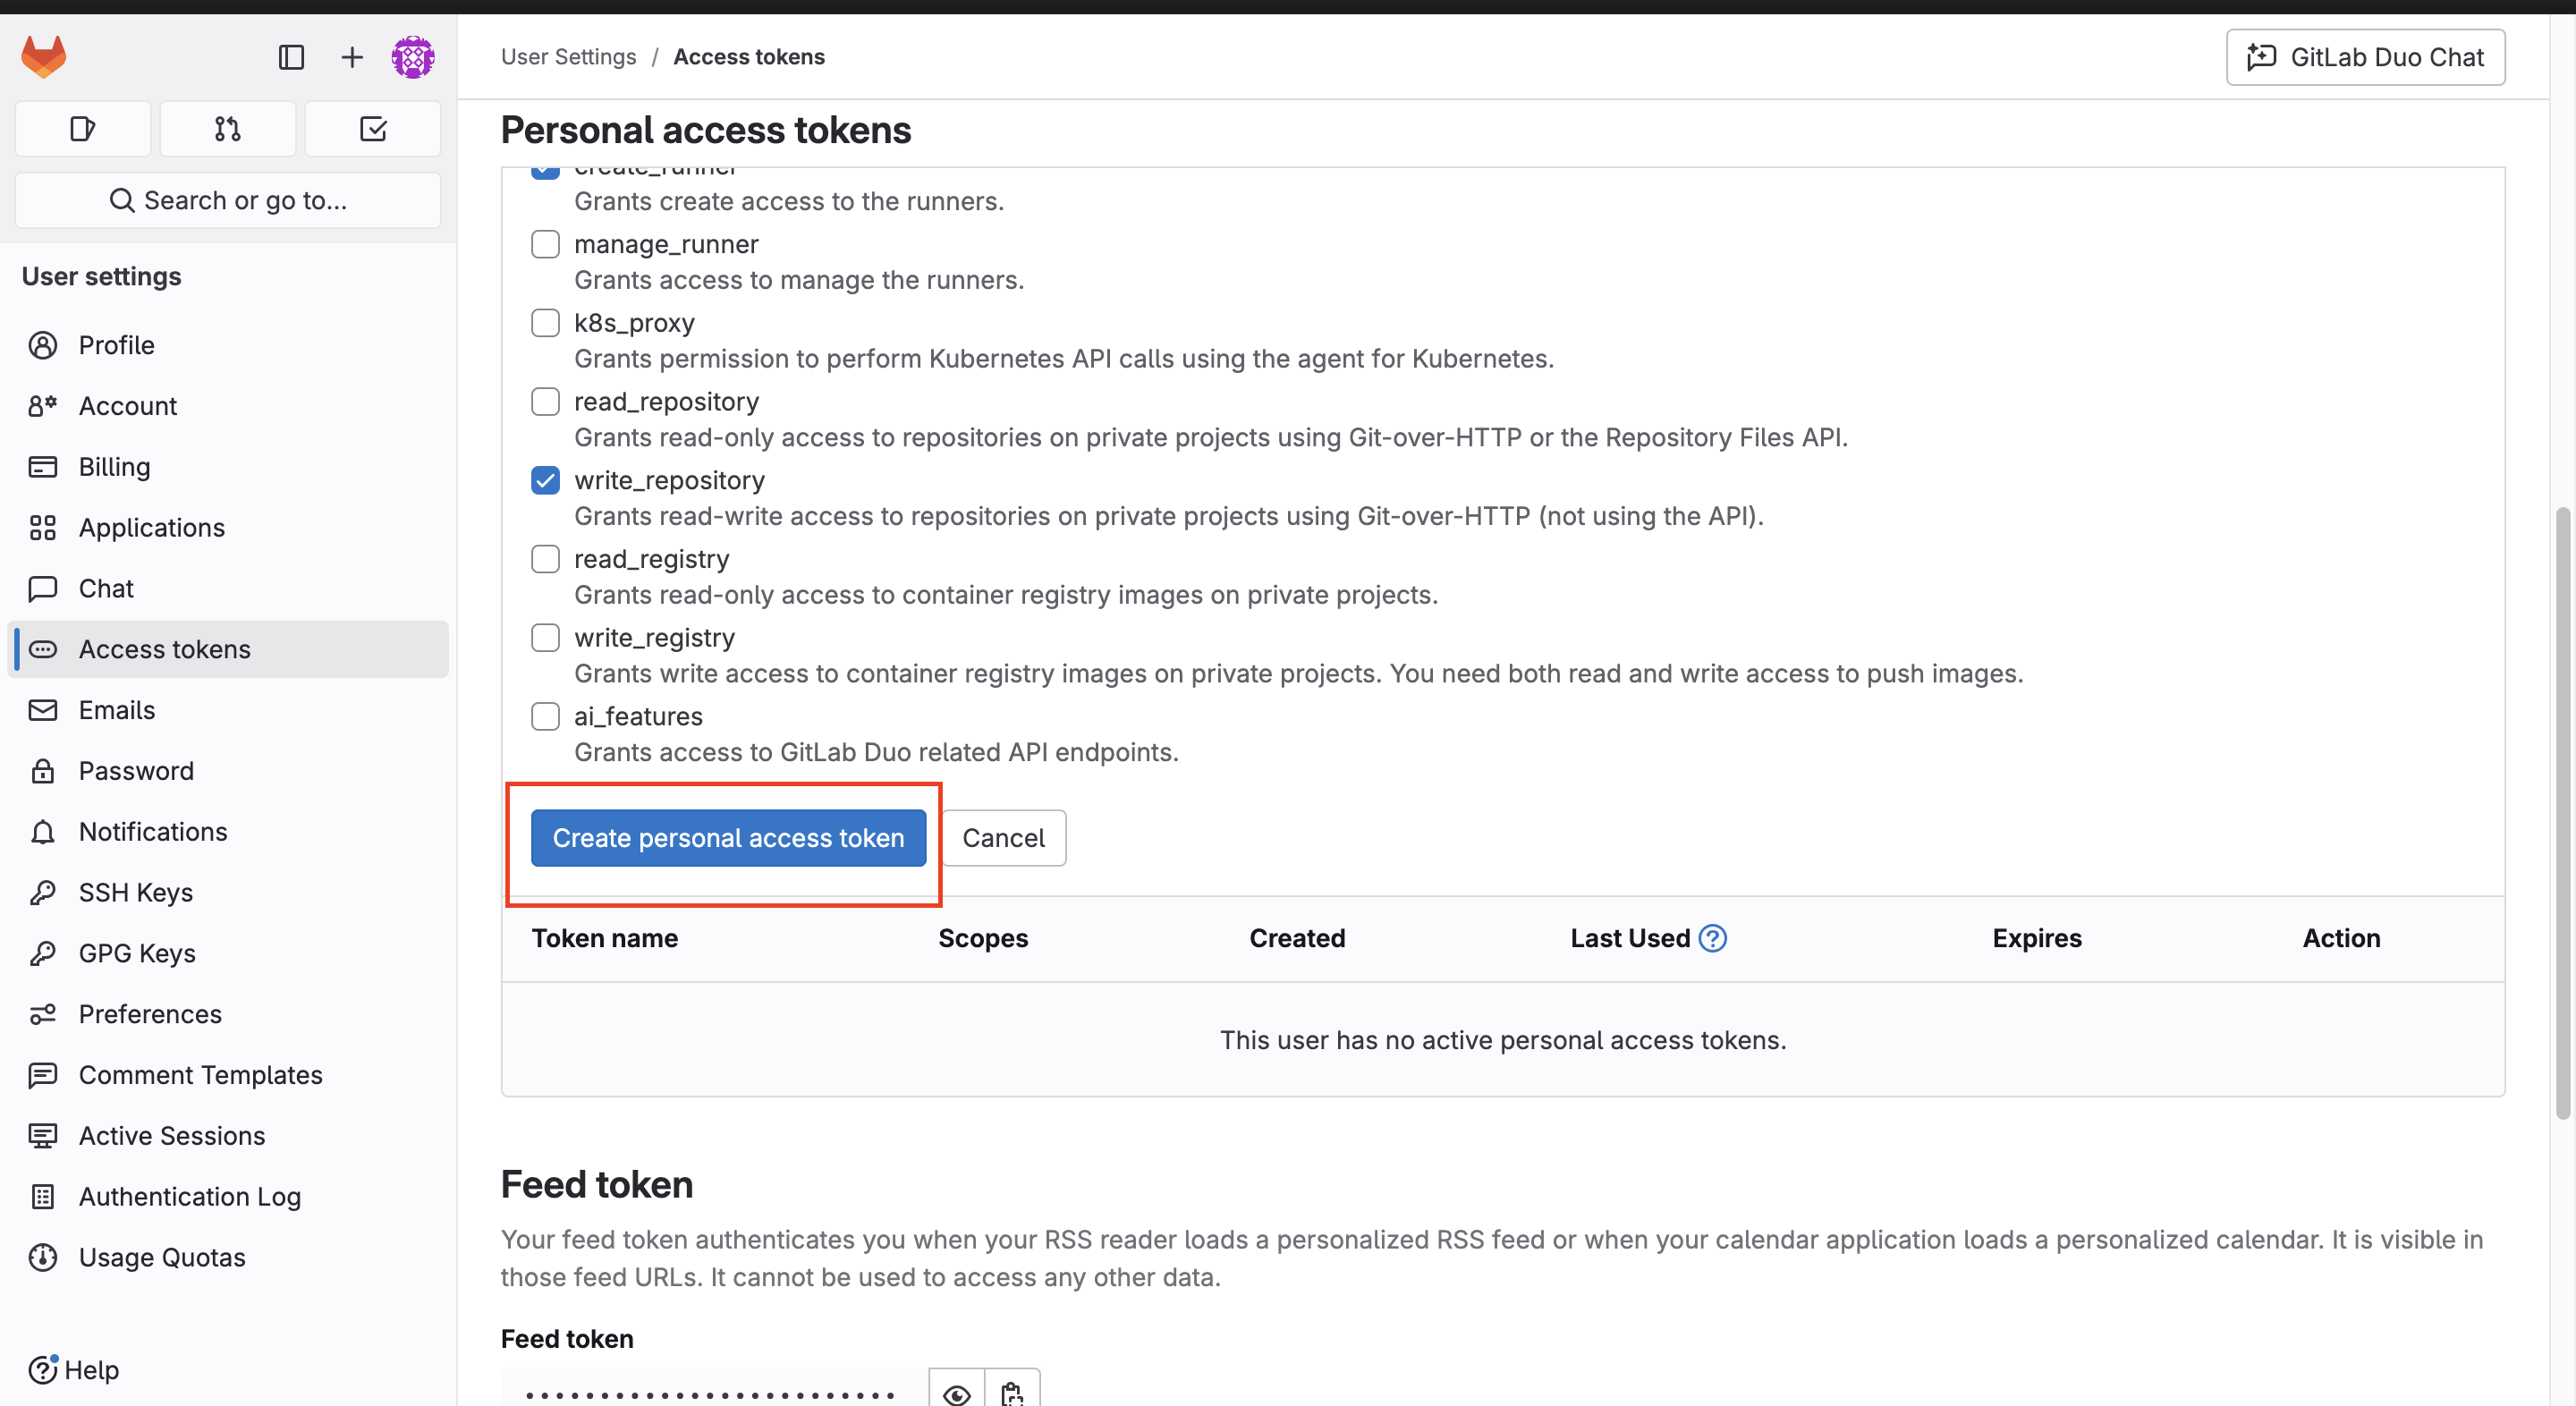
- Select these scopes:
write_repositorycreate_runnerapi
You might need additional scopes depending on your company’s needs. See the full list of GitLab token scopes.
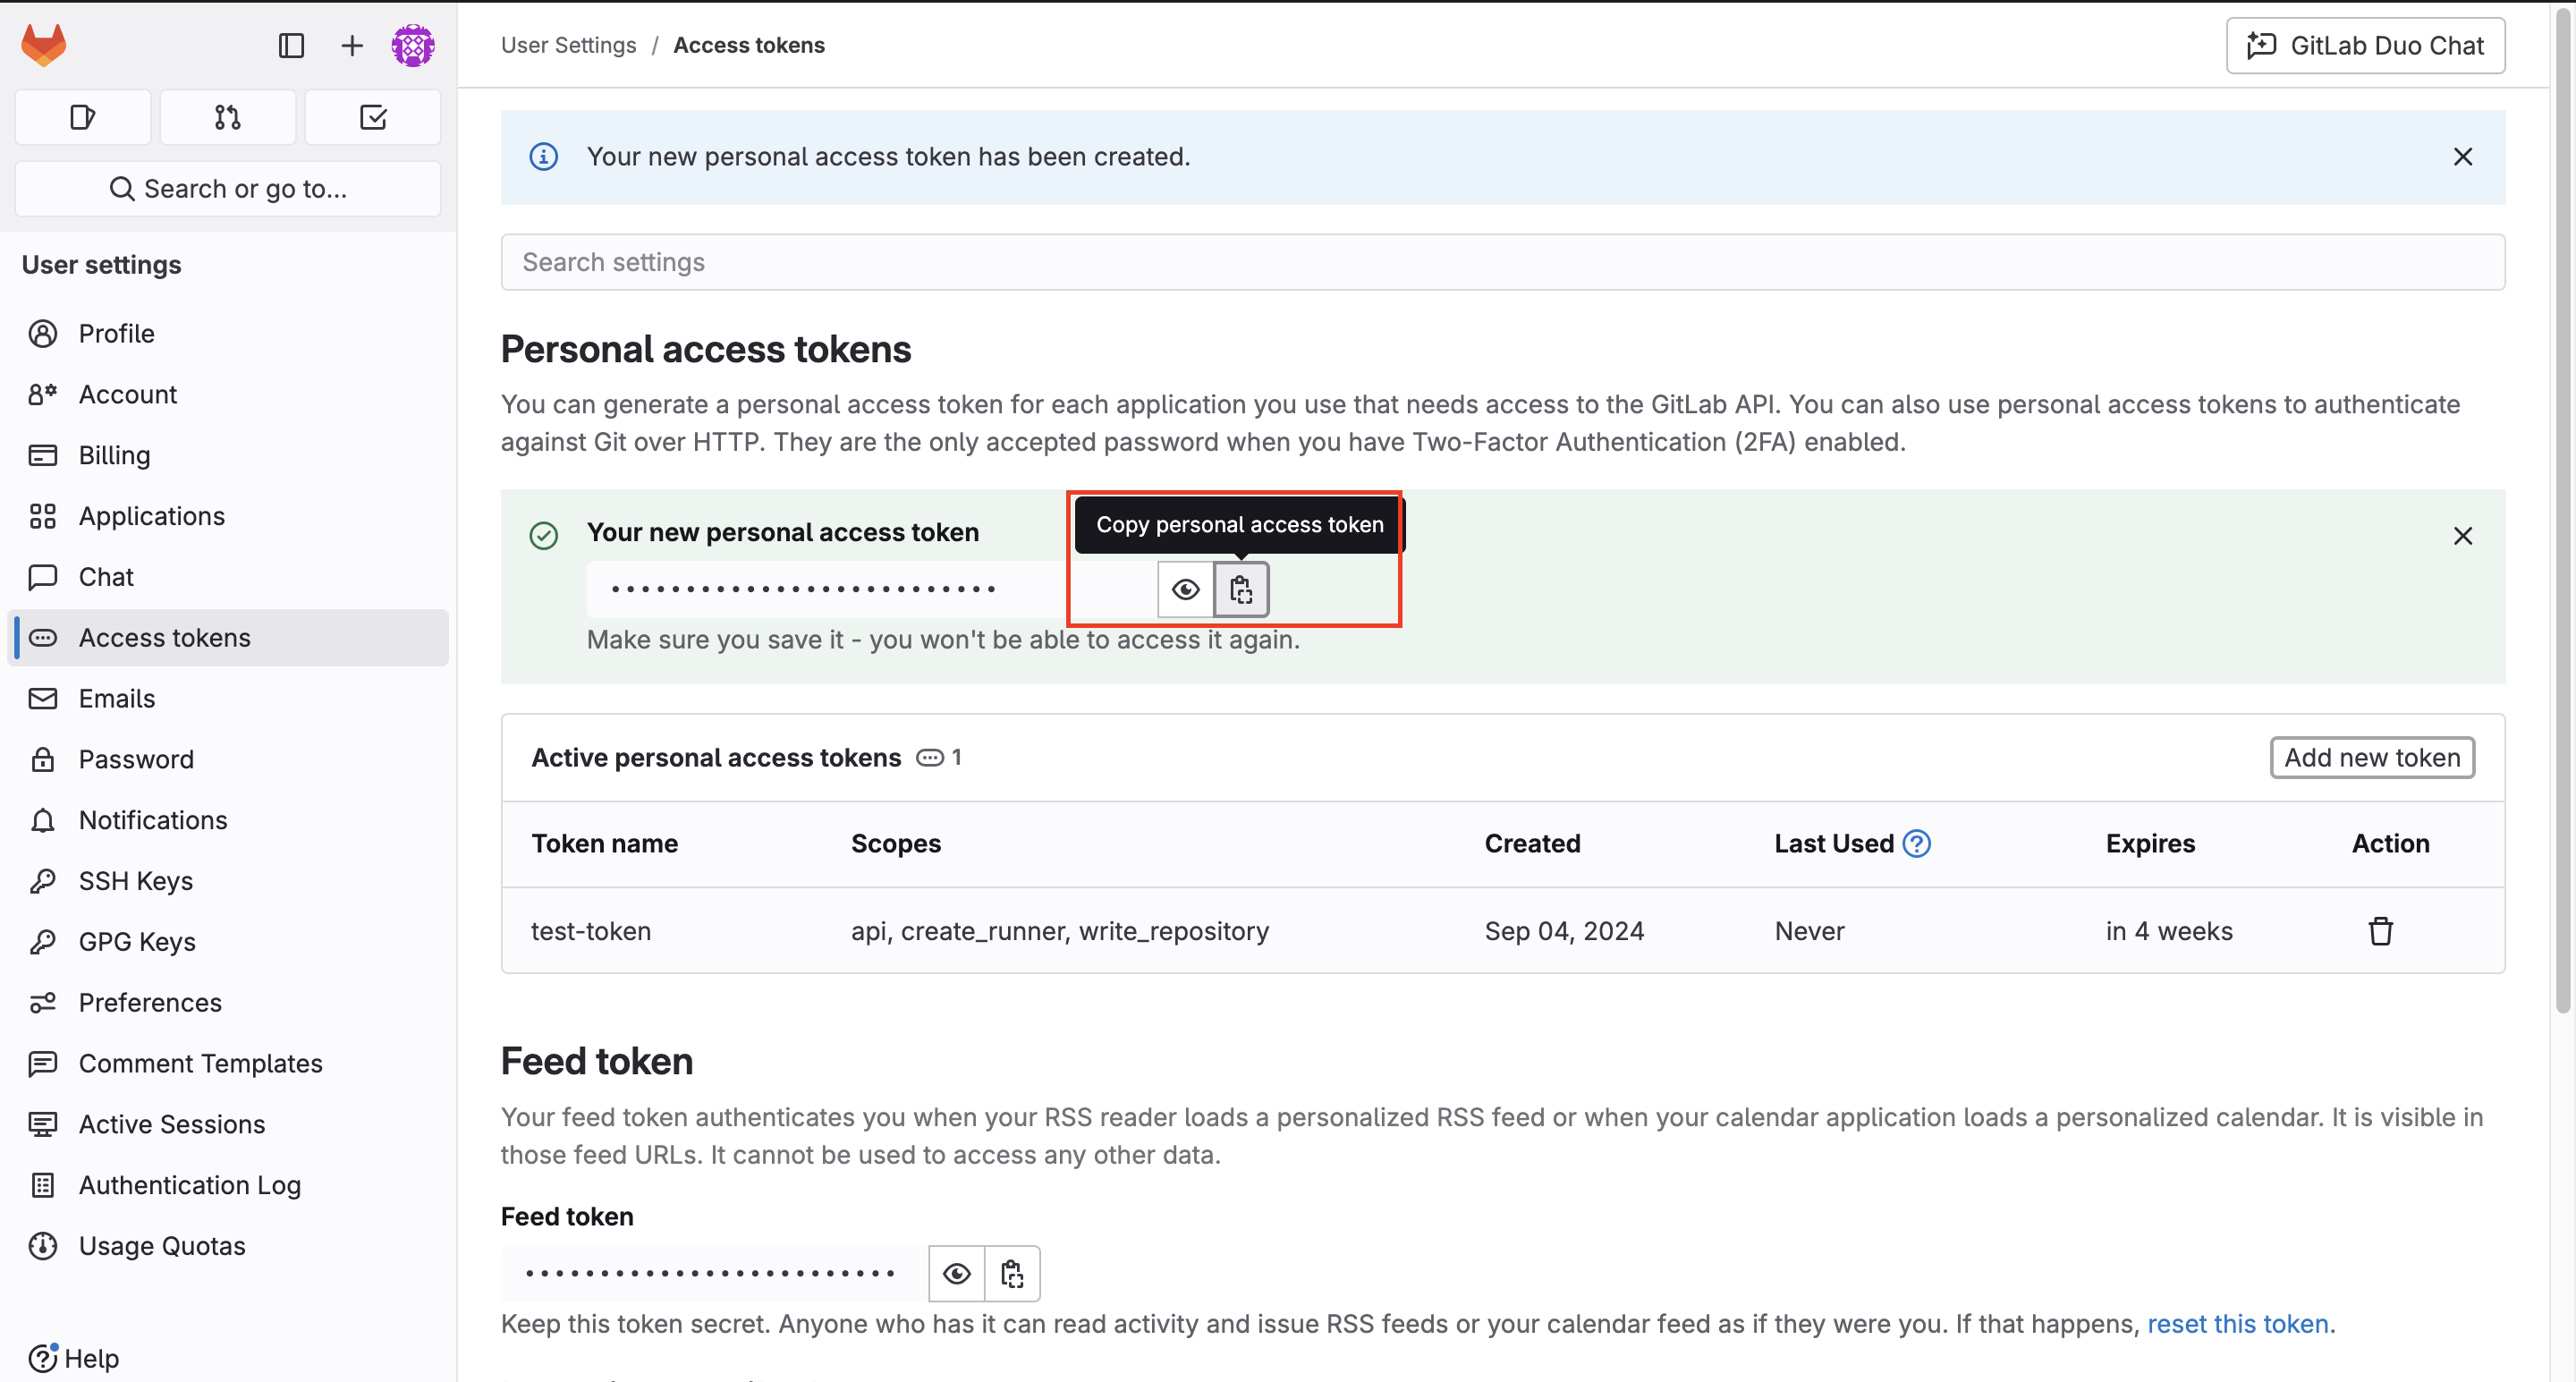
- Click Create personal access token.
- Copy and save the generated token. You’ll only see it once.
Set Up Pipelines Automatically (Recommended)
You’ll use the STK CLI for these steps.
Step 1. Run these commands:
If you’re in an active Workspace, exit it first:
stk exit workspace
Then, run the setup workflow:
stk run workflow stackspot-core/stackspot-setup-scm@3
Step 2. When prompted, select gitLab as your SCM provider.
Step 3. Answer the following questions:
- Project name: Enter your GitLab project name.
- Group Name: Enter your GitLab group name.
- GitLab api domain: For GitLab On Premise only. Enter your organization’s GitLab domain, e.g.,
techwriters.gitlab.com. - Personal Access Token: Enter the token you generated earlier.
- The repository to setup scm already exists? (Y/n): Type 'Y' if the repository exists, 'n' if not.
- Want to do the setup in main branch or create a pull request? (Y/n): Type 'Y' to create a pull request and specify the target branch, or 'n' to use the main branch.
Make sure your token user and the token itself have write permissions on the repository. If the repository doesn’t exist, you’ll need permission to create repositories.
For more details, check the GitLab documentation.
This is not your StackSpot account token.
If you complete the setup successfully, move on to integrate GitLab with your StackSpot account.
If you can’t finish the automatic setup, follow the manual steps below.
Manually Create the Repository and Pipelines
Step 1. In your terminal, using the STK CLI, run:
mkdir <repo-name>
cd <repo-name>
Example:
mkdir repo-runner-actions
cd repo-runner-actions
Step 2. Create a .gitlab-ci.yml file in your new folder with this content:
##
# Always run pipeline except for push events
##
workflow:
  rules:
    - if: $CI_PIPELINE_SOURCE == "push"
      when: never
    - when: always

image: ubuntu:latest

stages:
  - run

variables:
  workflow_name: ""
  api_inputs: "{}"

run:
  stage: run
  script:
    - |
        cd /tmp
        curl -fsSL https://stk.stackspot.com/install.sh | bash
        echo "~/.stk/bin" >> $GITHUB_PATH
        stk --version
        stk upgrade
Step 3. Commit your changes:
git init
git remote add origin https://gitlab.com/<gitlab-groupname>/<project-name>.git
git add .
git commit -m "Setup Runner"
git push
Example:
git init
git remote add origin https://gitlab.com/my-group/repo-runner-actions.git
git add .
git commit -m "Setup Runner"
git push
In some SCMs, Project Name and Repository Name mean the same thing. Here’s how to find them in the URL:
https://gitlab.com/[GITLAB-GROUP]/[PROJECT-NAME]
Example:
https://gitlab.com/stack-spot/stackspot-workflows-action
Step 4. In your GitLab project:
- Go to Settings > CI/CD.
- Expand Pipeline trigger tokens.
- Enter a Description and click Create pipeline trigger token.
Example:
If you finish this setup, move on to integrate GitLab with your StackSpot account.
Integrate GitLab with StackSpot
Complete these steps in the StackSpot Account Portal.
Connect GitLab (Cloud) to StackSpot
Using a GitLab Personal Access Token (PAT)
Step 1. Go to the Account Portal
Step 2. Select Organization;
Step 3. In the Account Portal menu, select StackSpot EDP, then click SCM and Configure SCM Integration;
Step 4. In Select a provider, choose GitLab;
Step 5. For Authentication Method, select PAT (Personal Access Token) and fill in:
- User: Your GitLab username.
- Token: The Personal Access Token you generated earlier.
Step 6. In Workflow Configuration, decide how your organization will manage SCM access. Enable or disable Will the organization manage SCM access via User PAT?:
- Enabled: Each user manages their own GitLab access via PAT.
- Disabled: The company manages GitLab access.
If you enable this, each member must set up their own SCM Access.
Step 7. In Workflow URL, enter the repository URL with your pipelines so StackSpot knows where your workflow is. You’ll need:
https://gitlab.com/<group_name>/<repository_name>?project_id=<project_id>&trigger_id=<trigger_id>
To find these values:
- project id: On your GitLab project’s main page, click More actions to see the project id.
- trigger id: In your GitLab project:
- Go to Settings > CI/CD.
- Click Pipeline trigger tokens.
- Click Revoke trigger to open browser options.
- Click Copy Link Address.
- Paste the link in a text editor. The trigger id is at the end.
Example:
# https://gitlab.com/<group_name>/<project_name>/-/triggers/<trigger_id>
https://gitlab.com/techwriters/documentation/-/triggers/1622887
Go back to the StackSpot Portal and continue:
Step 8. Review your details and click Integrate with StackSpot.
Connect GitLab (On Premise) to StackSpot
Using a GitLab Personal Access Token (PAT)
Step 1. Go to the Account Portal. Access the 'Configure SCM Integration' section;
Step 2. In Select a provider, choose GitLab.
Step 3. For Authentication Method, select PAT (Personal Access Token) and fill in:
- Provider URL: Your organization’s GitLab URL (always use
https://). - User: Your GitLab username.
- Token: The Personal Access Token you generated earlier.
Step 4. In Workflow Configuration, decide how your organization will manage SCM access. Enable or disable Will the organization manage SCM access via User PAT?:
- Enabled: Each user manages their own GitLab access via PAT.
- Disabled: The company manages GitLab access.
If you enable this, each member must set up their own SCM Access.
Step 5. In Workflow URL, enter the repository URL with your pipelines so StackSpot knows where your workflow is. You’ll need:
https://gitlab.com/<group_name>/<repository_name>?project_id=<project_id>&trigger_id=<trigger_id>
To find these values:
- project id: On your GitLab project’s main page, click More actions to see the project id.
- trigger id: In your GitLab project:
- Go to Settings > CI/CD.
- Click Pipeline trigger tokens.
- Click Revoke trigger to open browser options.
- Click Copy Link Address.
- Paste the link in a text editor. The trigger id is at the end.
Example:
# https://gitlab.com/<group_name>/<project_name>/-/triggers/<trigger_id>
https://gitlab.com/techwriters/documentation/-/triggers/1622887
Go back to the StackSpot Portal and continue:
Step 6. Review your details and click Integrate with StackSpot.
You’re all set!