Getting Started
Before you begin
This guide helps you set up your StackSpot AI account and use it to get a better development lifecycle experience.
Getting Started
Follow the steps below:
Step 1. Sign up to StackSpot AI
There are two ways to sign up:
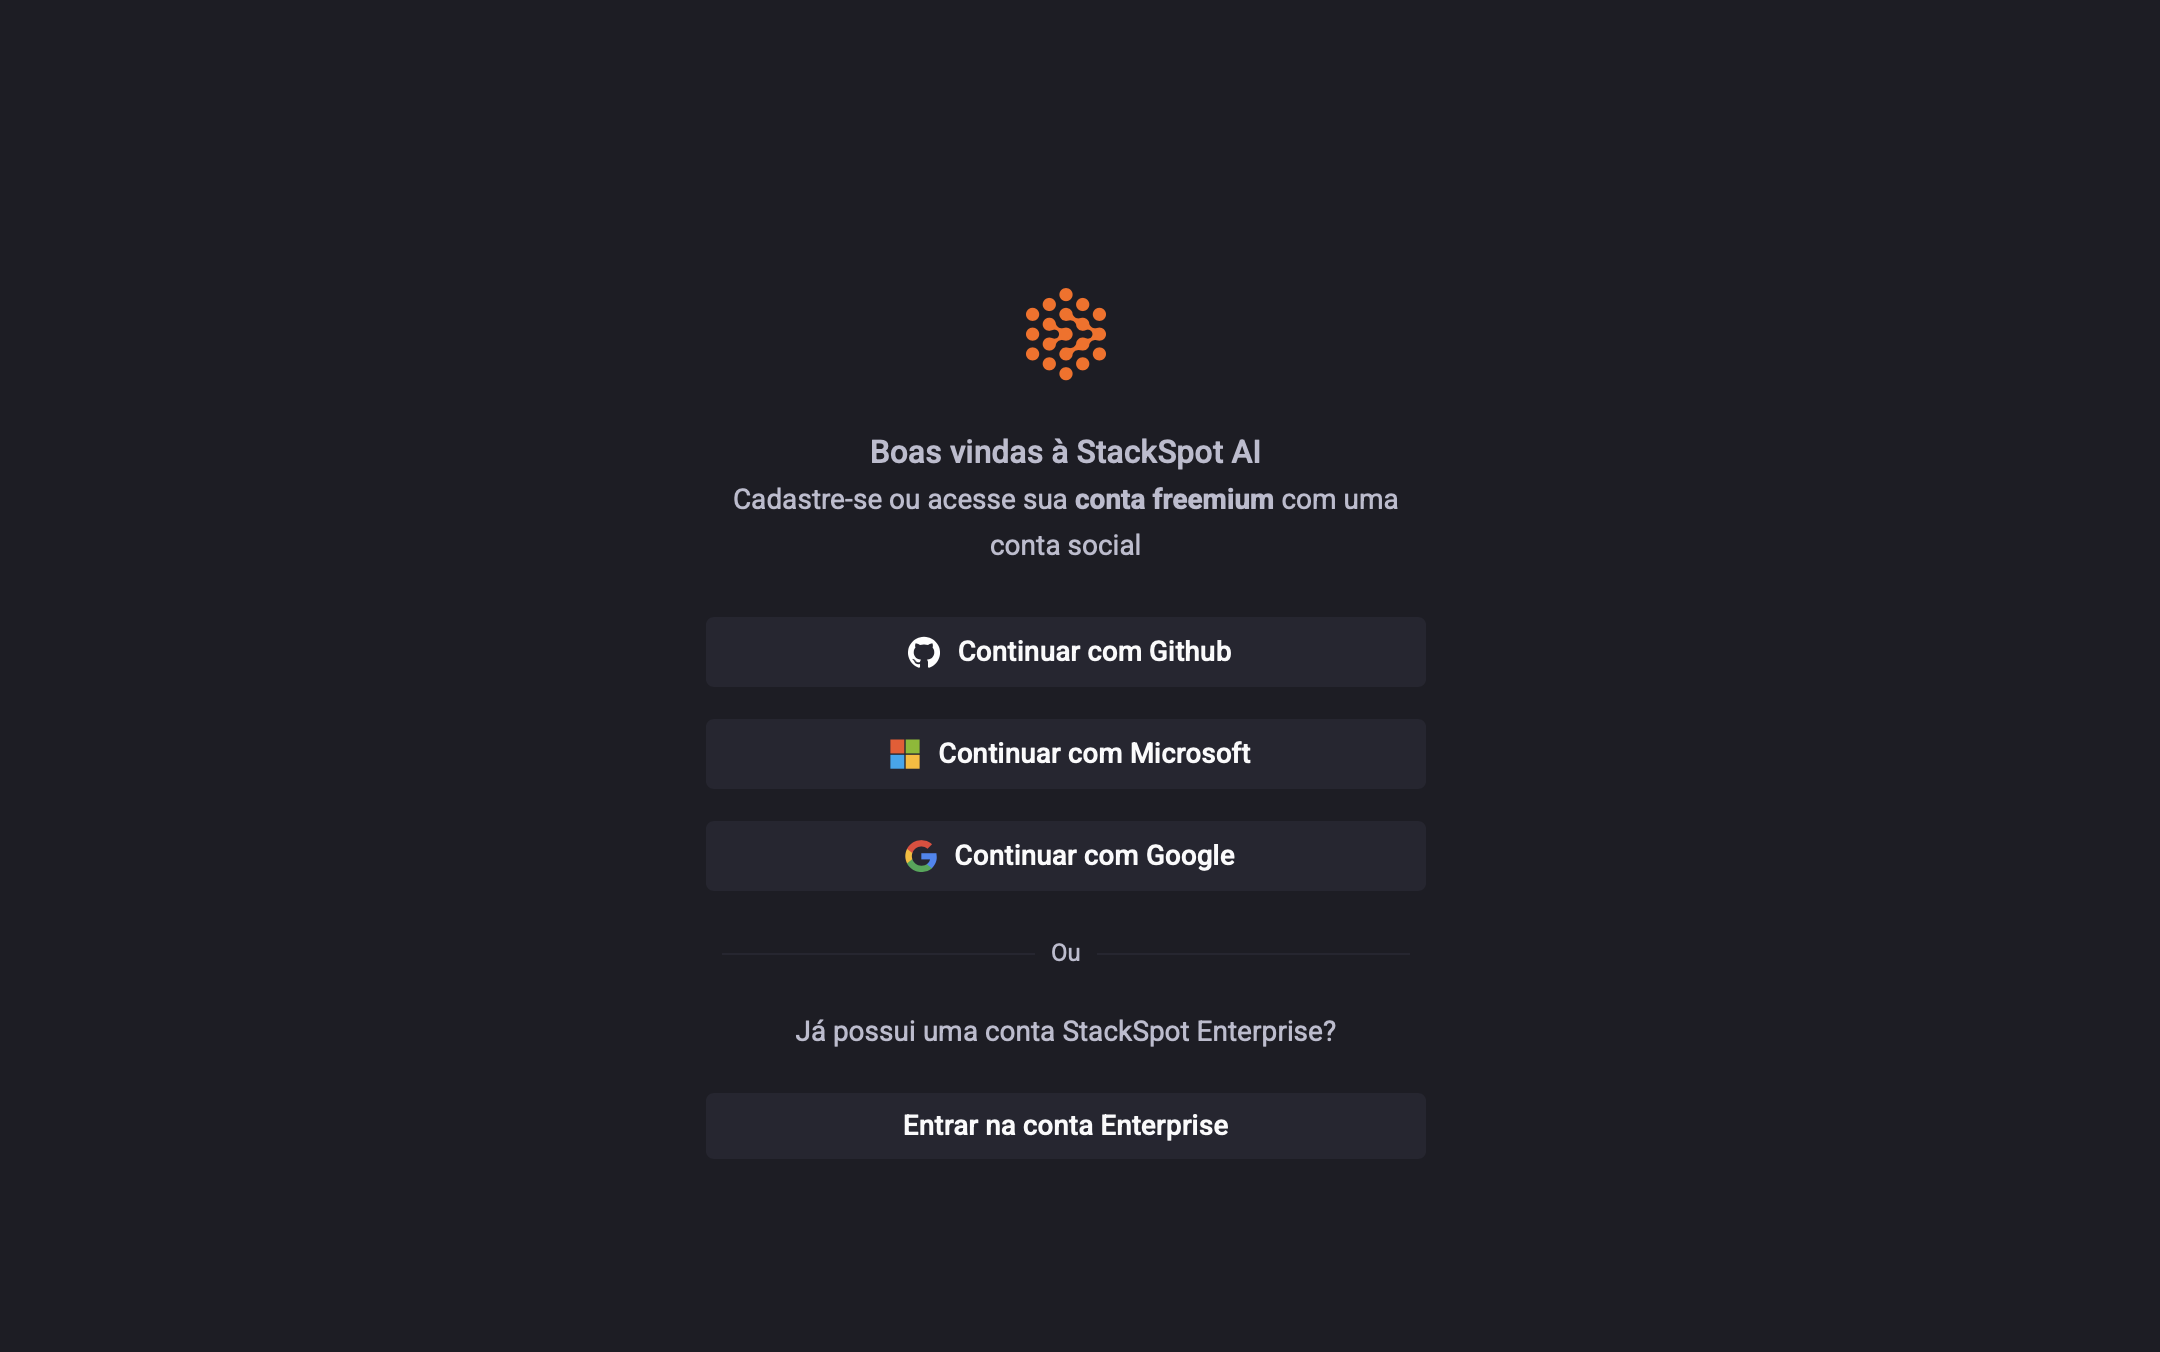
Access the StackSpot AI Portal to log in using your organization’s email address registered with StackSpot. Follow these steps:
- Continue with your Organization’s email address.
- Authorize access to StackSpot AI.
If this is your first time using StackSpot, try StackSpot AI with Freemium access. Log in with your Google, Microsoft, or GitHub account. Then, follow the instructions on the Freemium account page before continuing.

Step 2. Start a chat in the StackSpot AI Portal
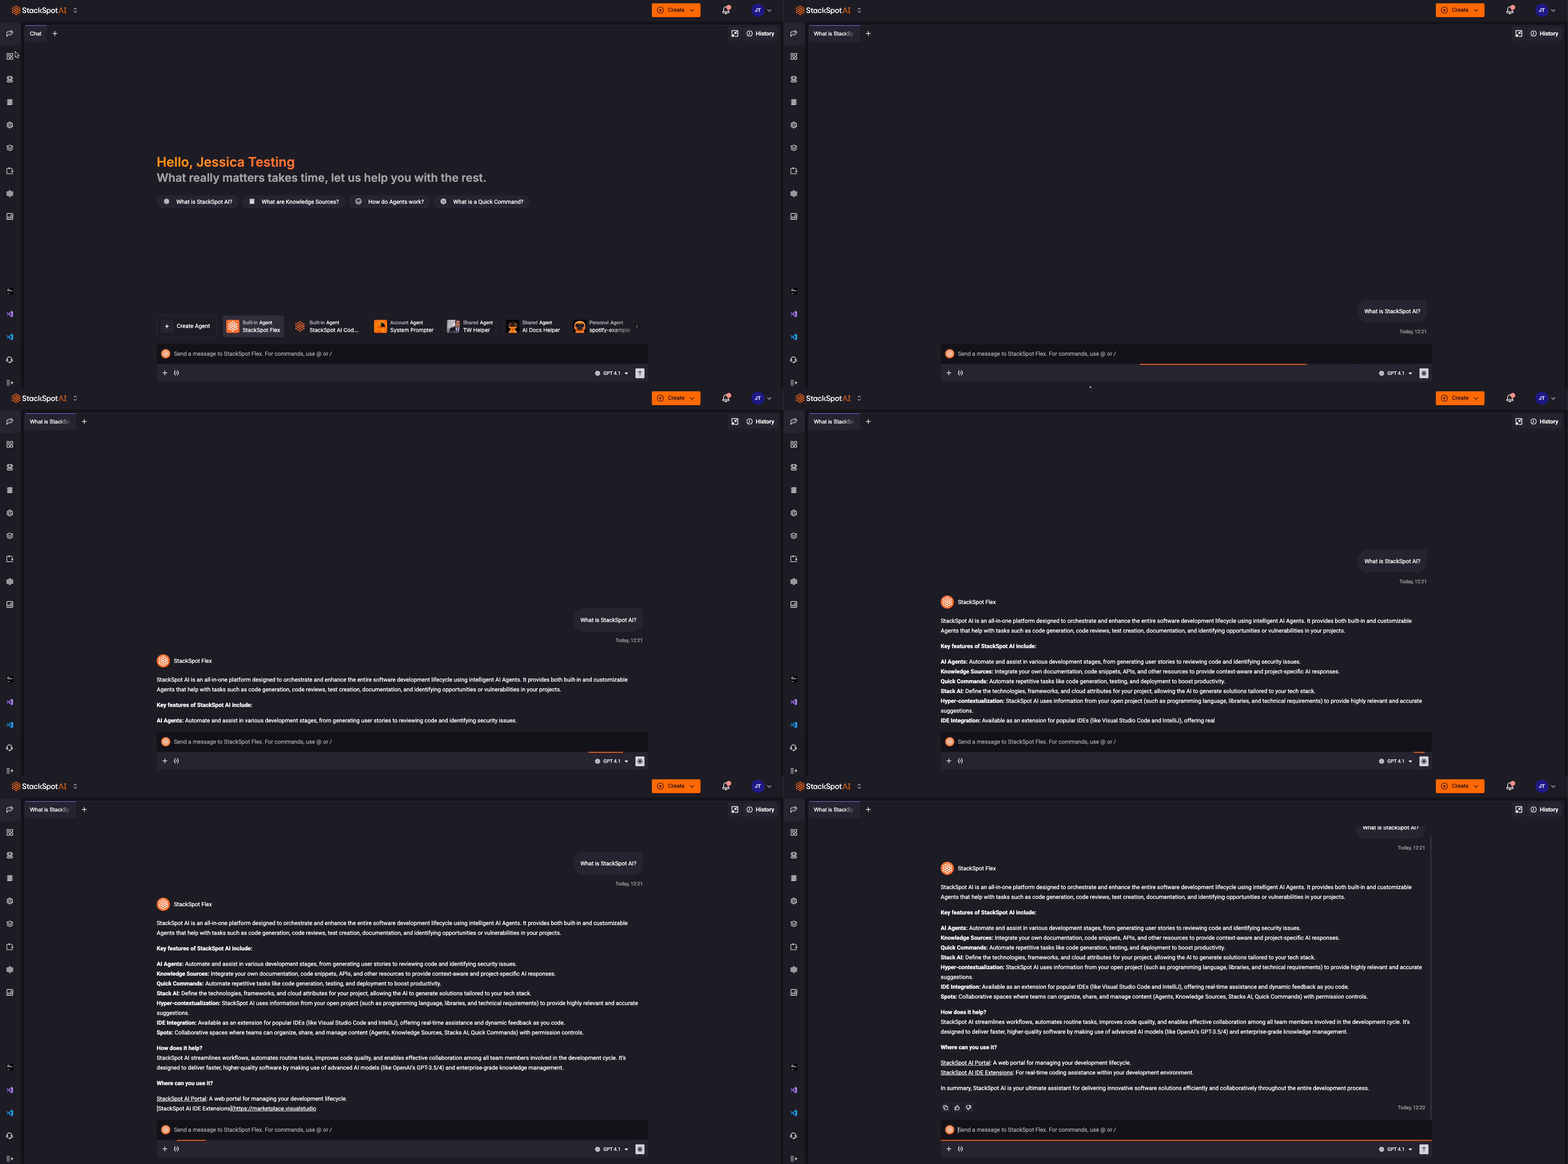
After logging in, you will see the Chat section in the StackSpot AI Portal. You can ask anything!

Step 3. Install the StackSpot AI extension
You can install the StackSpot AI extension or plugin to have the chat on your IDE.
- Install StackSpot AI extension. See the available ones:
- For Visual Studio Code: Install the StackSpot AI Extension.
- For JetBrains: Install the StackSpot AI Plugin.
Step 4. Access your IDE to test the StackSpot AI extension
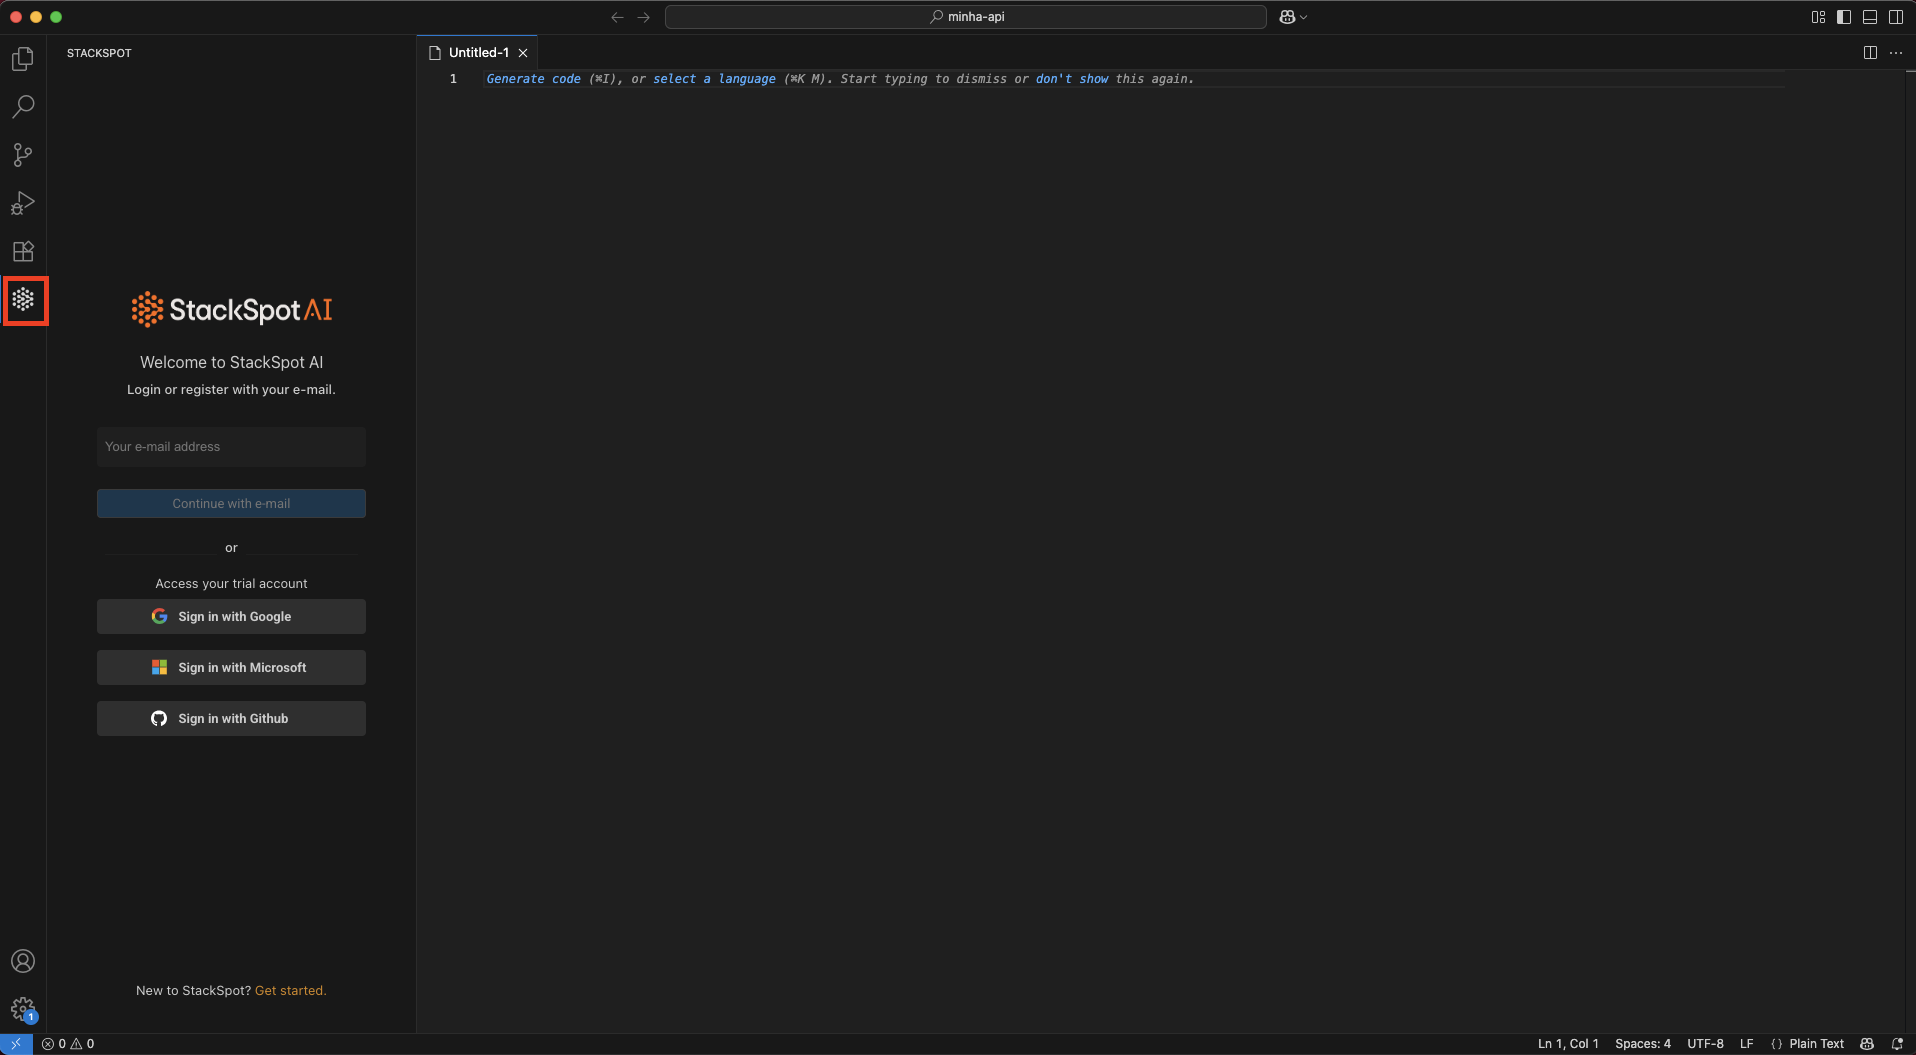
- Access your IDE and open the StackSpot extension.
- Login with your email address.

- Then, you can work with StackSpot AI in your IDE.
Next Steps
StackSpot AI Contents
Learn how to customize your StackSpot AI experience with the contents offered:
-
- AI Agents: These are specialized assistants that can help with various stages of the development lifecycle, such as code reviews, generating user stories, or identifying security vulnerabilities.
-
- You can add code snippets, APIs, documents, etc., to provide additional context for StackSpot AI. It is crucial for generating more accurate and project-specific code.
-
- Quick Commands allow you to automate tasks like code generation, testing, deployment, and more.
-
- Stacks AI allows you to define your project's technologies, frameworks, and cloud attributes. It helps in generating more context-aware and refined code suggestions.